
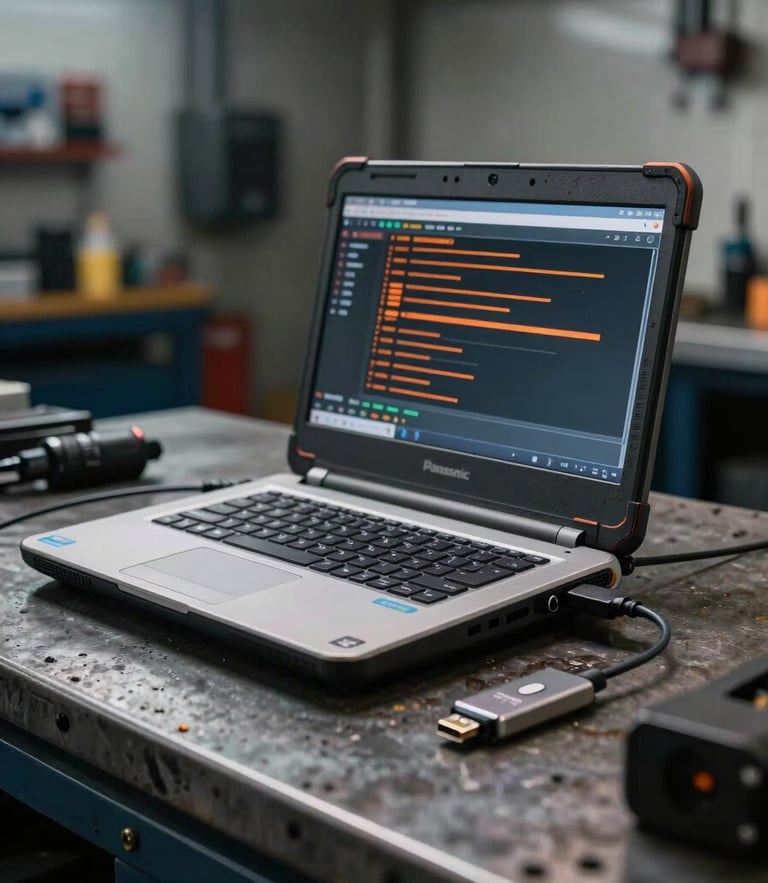
Establish the link.
Get your rig back on the road without the dealer waitlist. Connect your Nexiq adapter, launch your remote software, and let us handle the ECU calibration.
Three steps to connect.
Follow this checklist to configure your laptop before dispatching. Proper setup ensures a fast, uninterrupted connection for parameter changes or diagnostics.
Hardware Link
Remote Software
Stable Signal
Ensure your shop's connection is stable. A solid Wi-Fi or cellular hotspot signal prevents interruptions during the ECU flashing process.
Plug your Nexiq USB Link into the truck's 9-pin or OBD port. Connect the USB cable directly to your laptop.
Download and launch TeamViewer or AnyDesk. Keep your secure partner ID and temporary password visible on screen.
Ready to flash?
Average connection time: 15 minutes.
Once your hardware is linked and remote software is open, submit your session request. We will connect and begin programming immediately.